Wow...I haven't posted since January??!! Well my camera was broken in March so I haven't been able to really take pics of any home projects. (My phone isn't what you would call a 'smart' phone, able to take good pics.) I borrowed a camera so I could take some pics to wrap up our home makeover...for now. :)
MASTER BEDROOM:
The last room that needed a LOT of love was our bedroom. I'm talking wallpaper that hung on for dear life to patching and painting the ceiling, and painting every inch of trim and doors.
When we moved in:
Finally painted, windows dressed, carpet remnant added, reading area created, and custom 'headboard' installed... (oh, and a baby on the bed.) :)
There's just a tiny bit of painting left for the room to officially be complete...I just have to get on a ladder and I didn't want to try it while prego. I would also like to make some artwork for above those two chairs in the pic above.
~~~~~~~~~~~~~~~~~~~~~~~~~~~~~~~~~~~~~~~~~~~~~~~
THE GIRL'S ROOM:
We bought a bunk bed in December and moved Little Sister into the room with Big Sister. They have been doing fantastic sharing a room!
When we moved in:
When the room was just Big Sister's:
(You'll see this bed again as you scroll down...see if you recognize it)
Now a shared room:
Reading nook
BABY SISTER'S ROOM:
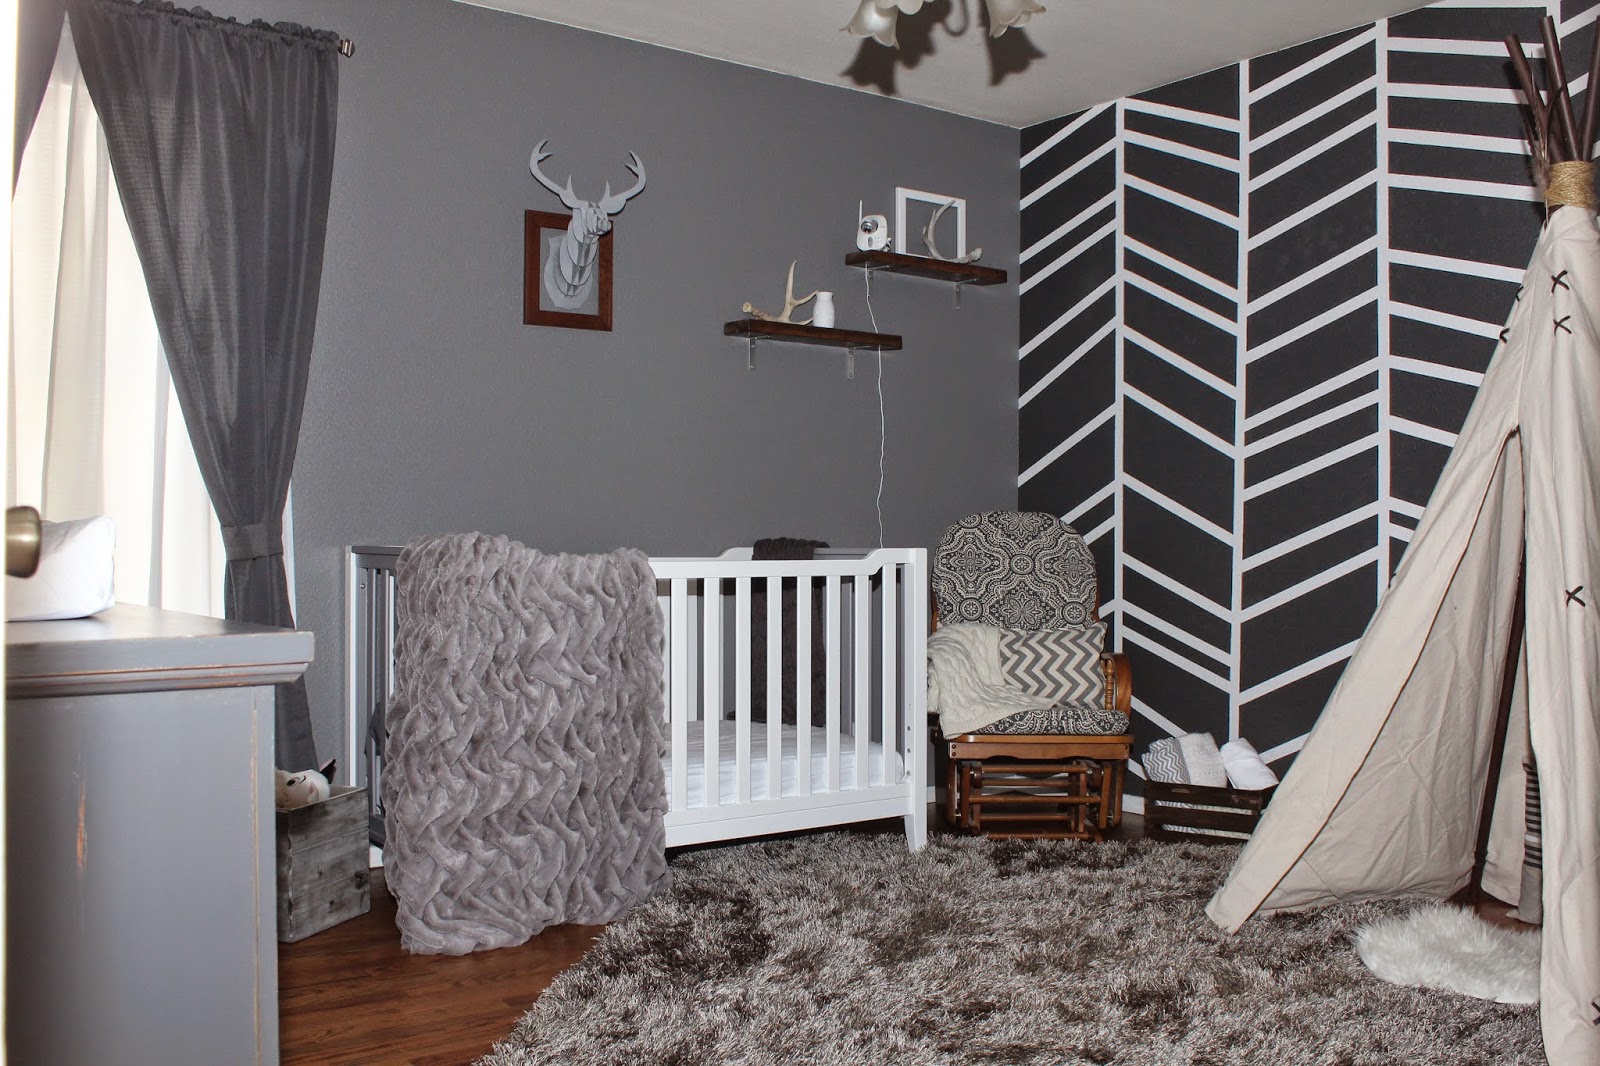
Little Sister's old room didn't change much when Baby moved in. I did add new curtains, change out the crib, make a new bedskirt, paint a new small dresser and other little details.
Here's that old black bed from Big Sister's room. It was her crib and has transitioned with her and now will transition with Baby. I painted it a Sage green and distressed it. I love how it looks in the room. (When Little Sister had this nursery, she had a cream Jenny Lind style crib, but it fell apart after a year and a half.) A lightly colored crib totally changed the feel of the room.
There! The upstairs update is complete. :)
~~~~~~~~~~~~~~~~~~~~~~~~~~~~~~~~~~~~~~~~~~~~~~~~~~~~~~
FRONT LIVING ROOM:
In the summer, we did a little sprucing up to the front living room. We added a carpet remnant and I finally made some curtains! What a difference!!! It's my favorite room now! I love reading in my big chair with a cup of coffee, watching the weather out the front windows.
When we moved in:
Settling in:
And now:
~~~~~~~~~~~~~~~~~~~~~~~~~~~~~~~~~~~~~~~~~~~
DINING ROOM:
My latest project I finished back in August. I loved the table I found on Craigslist, but the previous owner must have put some sort of sealer on top that didn't set right and therefore was sorta sticky to the touch. Every time we put a napkin on the table it left residue!!! See...
After a year of hiding it under a table cloth I decided I wanted to get the table looking good and not have to deal with washing table cloths. So I began sanding...
Ooooo...what is this beautiful wood underneath?? :)
After a couple dozen sanding pads...here's the raw wood:
Every other 2 boards are particle board...? A money saver perhaps? Whatever Mathis Brothers.
I stained/sealed it and absolutely LOVE our table! It's so easy to clean now and goes so well with the feel of the dining room.
As you can see, I also redid the chairs. I sanded the tops of the chairs, repainted the rest of them, and then applied the same stain/sealer as they table. Also awesome! :)
Oh, here's the move-in shot of the dining room:
~~~~~~~~~~~~~~~~~~~~~~~~~~~~~~~~~~~~~~~~~~~~~~~~~~
OUTSIDE sneak peek:
Next Spring we plan on finishing up the outside, but man, did we get a ton done this summer! We dug up the whole front garden and ripped out the awful boxwoods. We drastically trimmed the trees, just pulled some out, added 30 something bags of mulch throughout the property, bought 27 azaleas and 13 trees to plant. We were gifted a bunch of the landscaping: a rose bush, monkey grass, hostas plants and some other bushes.
Before front:
This May:
Since then we've been working hard on the lawn...it's now weed-free, thick beautiful grass. (It rained crazy amounts the weekend we did the front garden rehaul, that's why its SO muddy!) We painted the banister and upstairs window frames white and added some new guttering-it looks great now! But those pictures will come next Spring.
In the back yard we pulled down the old dog run fence and dug up all the ground back there so the grass could start growing again. We also planted all the trees along the fence line...they will grow up to provide a wonderful privacy/sound barrier from the traffic. (I'm sure it will be a selling point for future buyers.)
We started tackling the deck when we fixed up the fence and gates...Hubby ripped up the old planter boxes and rebuilt the top to provide places for drinks, plants, decorations, etc. We are so excited to paint the deck! I know it will be a dramatic difference! It will be so nice to just have one area to focus on next year now that the inside is done for the time being. (I mean, if we had the moolah to blow, we would replace the pink countertops in the kitchen.) :)
So there ya have it! Happy Fall Ya'll!


