Pages

Showing posts with label repurposed. Show all posts

Wednesday, October 24, 2012

A little paint...a big impact! And some other things...

The stairs BEFORE:

The stairs AFTER:

I LOVE it!!! It is so much brighter and cleaner! The white makes the wood look even more beautiful. Two products that rocked this project were:
Guardsman Wood Marker (comes in 3 colors-I used the lightest color) and Bic Wite-Out EZCorrect
The roll-on white out was PERFECT for covering the hundreds of finishing nail holes and some rust spots that soaked through the primer. The marker, which is made to fill in scuffs in wood, was so easy to use and it covered all the scratches on the steps and they look so good now!

I also worked on curtains...I took the 2 long panels from the living room and turned them into 3 valances in the kitchen nook and 2 valances in the living room.
 This nook SO needed some valances!
 Living room window where the long panels used to hang...now high valances. Look so much better!

 I just love this fabric!
All fabric I had on hand, in the form of other curtains. I purchased some wood and L brackets to mount the valances to in the kitchen nook. Some other things I used: sewing machine, rope (to make the piping on top), hot glue gun (to keep the 'pressed' edges looking pressed), staple gun, metal drill bit, and wood screws.

One last super easy thing I made with an empty frame I had:
A memo board for "up-and-coming" events or special items to display. Used: bendable thick wire (that came with a flower bouquet I got) and some adhesive to glue it to the frame. Easy peasy. :)


Thursday, October 4, 2012

Fall Decor Time! Yippee!

I recently bought an antique window and was so excited to use it in my living room to replace the shelf that was above theTV (b/c it was way too small for that large wall) It took a couple days to chisel and sand it smooth and then paint it white. So here it is in all its nakedness...
 
Then I made a banner out of scrap fabric...too cute. :)

 I want to decorate it differently for each season so I started thinking what I could do for the Fall... so I found an old book, cut out some leaves, and hot-glued them to some thin rope.


Then I decided it needed something big in the middle like....a wreath! So I went to hobby lobby and an hour and 3 glue sticks later had a new, and very "fall", wreath.
Before: the supplies:
Finished:

Then I hung it up...


But then I thought the banner was too much so I moved it to the fireplace mantel and was left with this clean looking window:
I'll probably change it tomorrow, but hey, that's the fun of it! And the old shelf from above the TV was moved to the entry way and I think it looks great there! Lots of possibilities for decorating it too...

I just love how the frames fill up that wall! (Though you probably wondered why I had empty frames hanging the past couple months.)  :)
Worked on filling some of those frames recently...
This quote made me chuckle and yet feel empowered at the same time. :) I printed out the words, cut them by hand and sorta glued them to scrapbook paper. (Don't know how long it will stay seeing how in our family, we don't say "freakin"...so it may only stay until Ry can read what it says.)  :) 
That one I just made on a Word document...about as easy as it gets! You could personality to anything!

Hopefully a post on new curtains will be forthcoming, but I am having trouble committing to a fabric so that project keeps getting postponed. Thanks for viewing!...You weirdos that, like me, love to examine how other people decorate their homes! hehe :)

Monday, September 12, 2011

Craft Follow Up

Last post I had these two pictures:


Time for an update: Here's the only picture I could find of the original collage frame. (I had one that said 'Memories' and another that said 'Family'.

They didn't work anymore in our new living room arrangement but I didn't want to just throw them out. So I stripped them completely apart and reused the frame and wooden letters for this project. I spray-painted the frames white, cut some vinyl garden fence to size (instead of chickenwire), colored it with a black Sharpie on the front (it was green) and then superglued clips to each letter so I could attach them and rearrange them as I please and use them to hold up things I want to display. 

Right now I am using them to hold things I want to remember to pray for...or just need to remember, like birthday parties! I have a card from a sweet friend that lost a baby so I remember to pray for them every time I see it. I also have a birth announcement and a card from another friend...

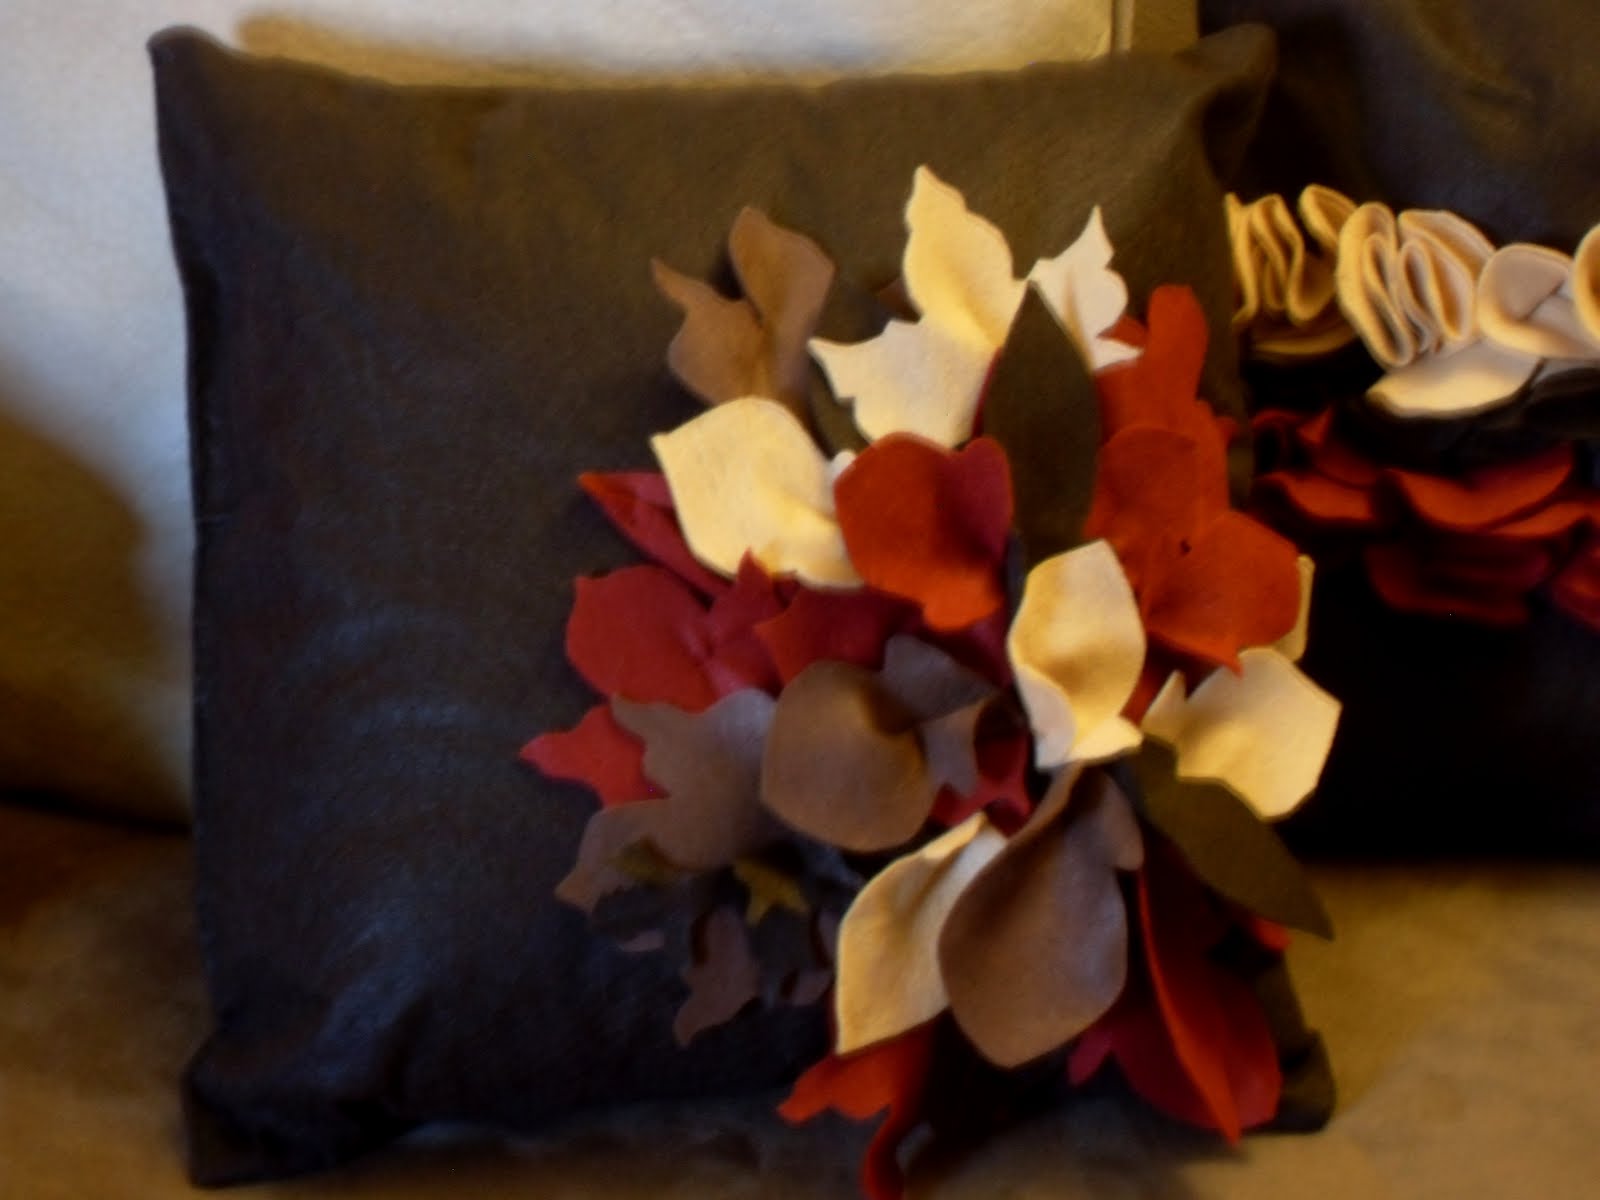
On to the felt circles...This was my first attempt to make a pillow using felt. Here was the inspiration...
And here is my pillow using my colors:


I made smaller circles than the design pillow, but I love the multi-colored look. And it looks great on my couch! I plan on making a few more with different designs. My mother-in-law loved it too and asked if it would be possible to cut out different shapes, like leaves. I thought why not??! And...her birthday just happened to be a couple days away so I quickly began making a pillow for her, trying a leaf design...


She loved it!  :) Now to try some new colors...
More projects and recipes coming soon...
Friday, August 12, 2011

Family Frame...done!

I am finally done cutting out letters for our family beliefs frame! Here are some pics from the whole process...

Frame primed and awaiting some paint...

Hubby fastening the old fence slats together...

Wood slats in frame...

 Name letters and sentences adhered...
All done! If you can't read it, they sayings are:

Our differences fill the gaps
Be present in all things
We fight satan, not each other
Live intentionally, think eternal
Thank, pray, abide, love...always

Thursday, July 21, 2011

Coupons, Groupons, and Daily Deals....Oh My!

I've been so intrigued since I heard of the show Extreme Couponing. I have yet to see an episode but I've seen clips of it and other similar shows. The whole thing confuses me to no end! I am SLOWLY picking up on things I read here and there about how to do it, but it still doesn't seem very doable for me. I did accidentally buy something for free a few months ago...I had a coupon for body wash that was on sale and I got it for free! That felt good!  :) The thing about this crazy couponing is I don't want to buy things I don't need, ya know?! Anyway...I've tried several methods to organize the coupons and I've found the way I do it now is the most effective for my family, so I will share it with you...

For non-grocery coupons, I have a small 3-ring binder that has see-through sleeves and pockets. I have a section for baby needs, baby food, eating out, car, etc... For small coupons, I put them in a see-through business card holder sleeve. (All the sleeves and binder accessories I got from Target).

For grocery food items, I need them to be easily accessible so I can quickly flip through them and see which ones I need. It wouldn't work to keep them in the binder since I would have to pull them all out each time to view them all. My solution is to hole punch them and put them on a ring. I then hang that 'Ring of Coupons' on a hook on my fridge...

Speaking of those little metal ring things...i just love them! I used them this past week on an impromptu project for my brother. I had got him several Groupons and gift cards and wanted a better way to give them to him than just shoving them all in a card. So I came up with this:

17 balloons on the front.  :)   I made a pocket on each page to hold his gifts. I quickly decorated each page and tied some ribbon around the rings. (don't judge my slapshot decorating...I'm sure he through it away after he took the good stuff out.)  :)

But overall, I loved it and will definitely use this concept again for future gift certificate givings.  :)


Decorating update:
I would just wait until I was done with the project to post, but since it is only getting worked on during free time and is taking a while, I will post as we go. (And that Len is very proud of his work...so for him, I present you with these pics)

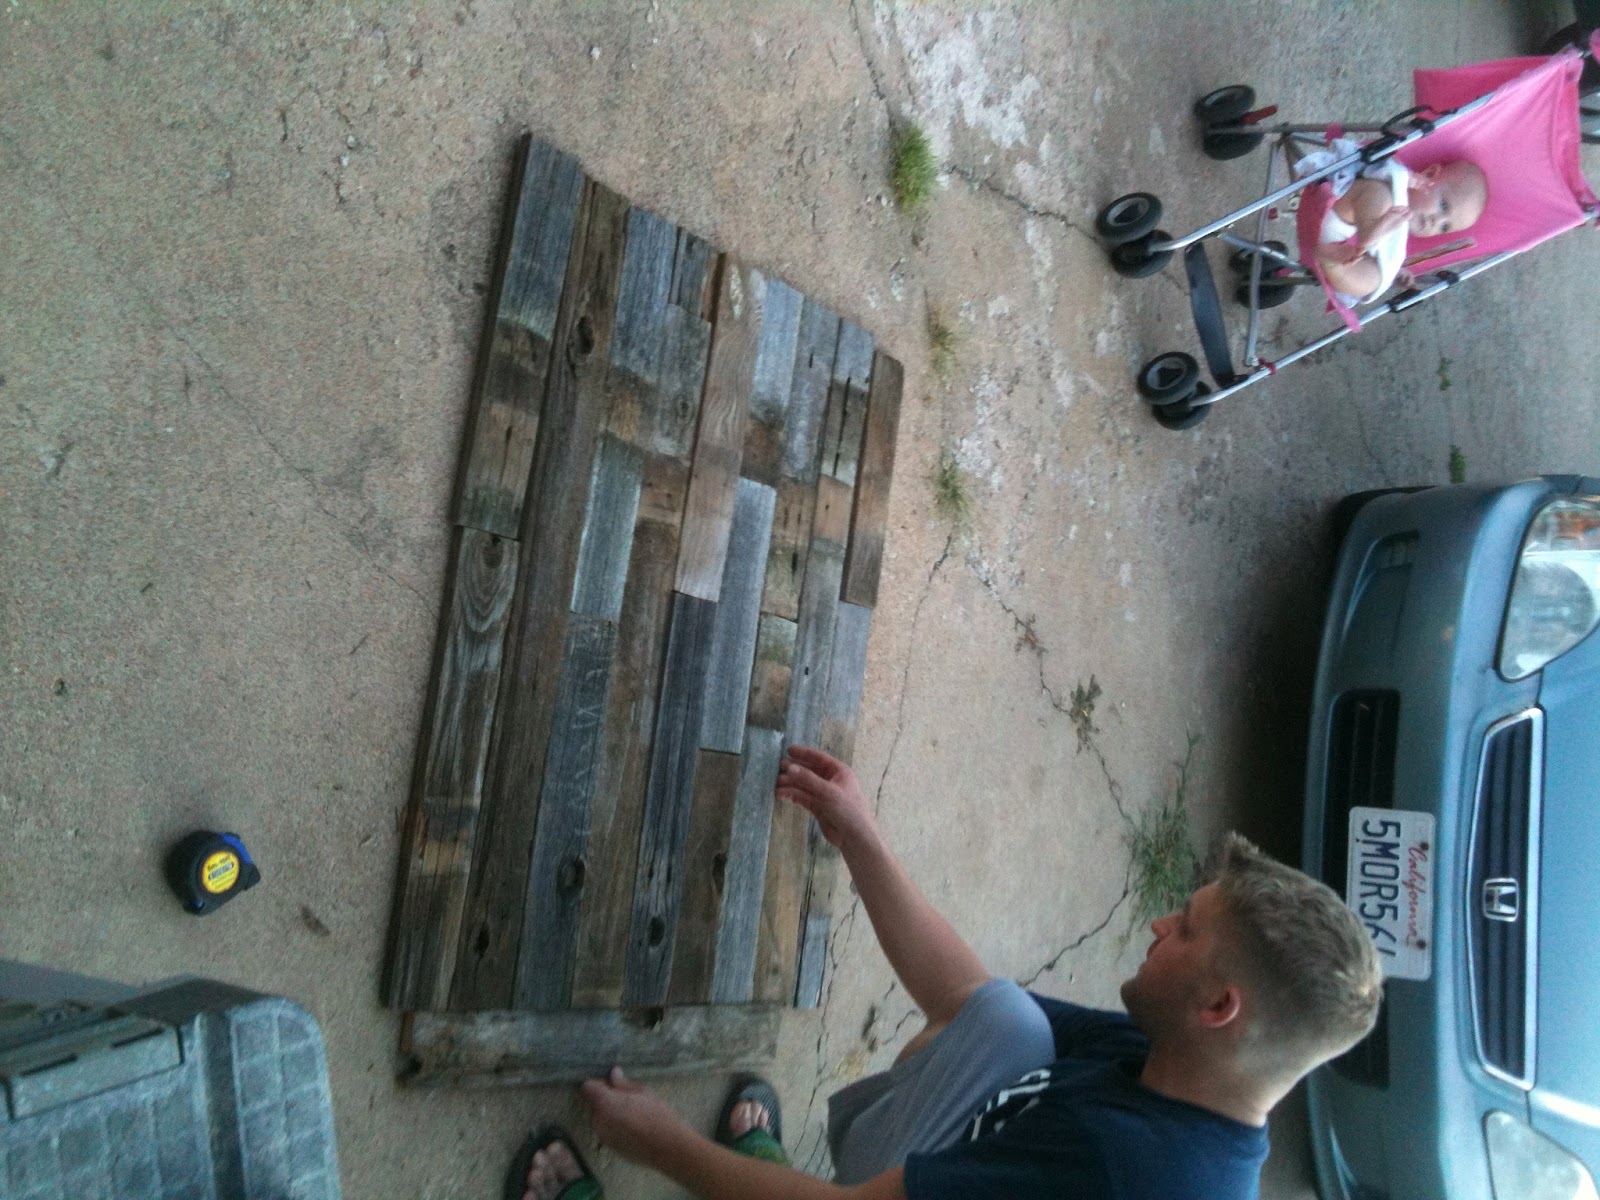
We lined up all the slats we cut to size, then secured the backing-vinyl garden fence stuff. The slats came from our backyard when we replaced a bunch of old slats last year that were damaged. Here's pumpkin cheering us on!!


I am thrilled with how it turned out! It went from a pile of trash to something "beautiful". (Or at least that's what I kept saying! It adds so much to our living room.) Next step is to adorn it with my family values script I am working on...